Blocklist
https://rbs.ces.myfiinet.com/rbs-admin/customer-management/blacklist
Overview
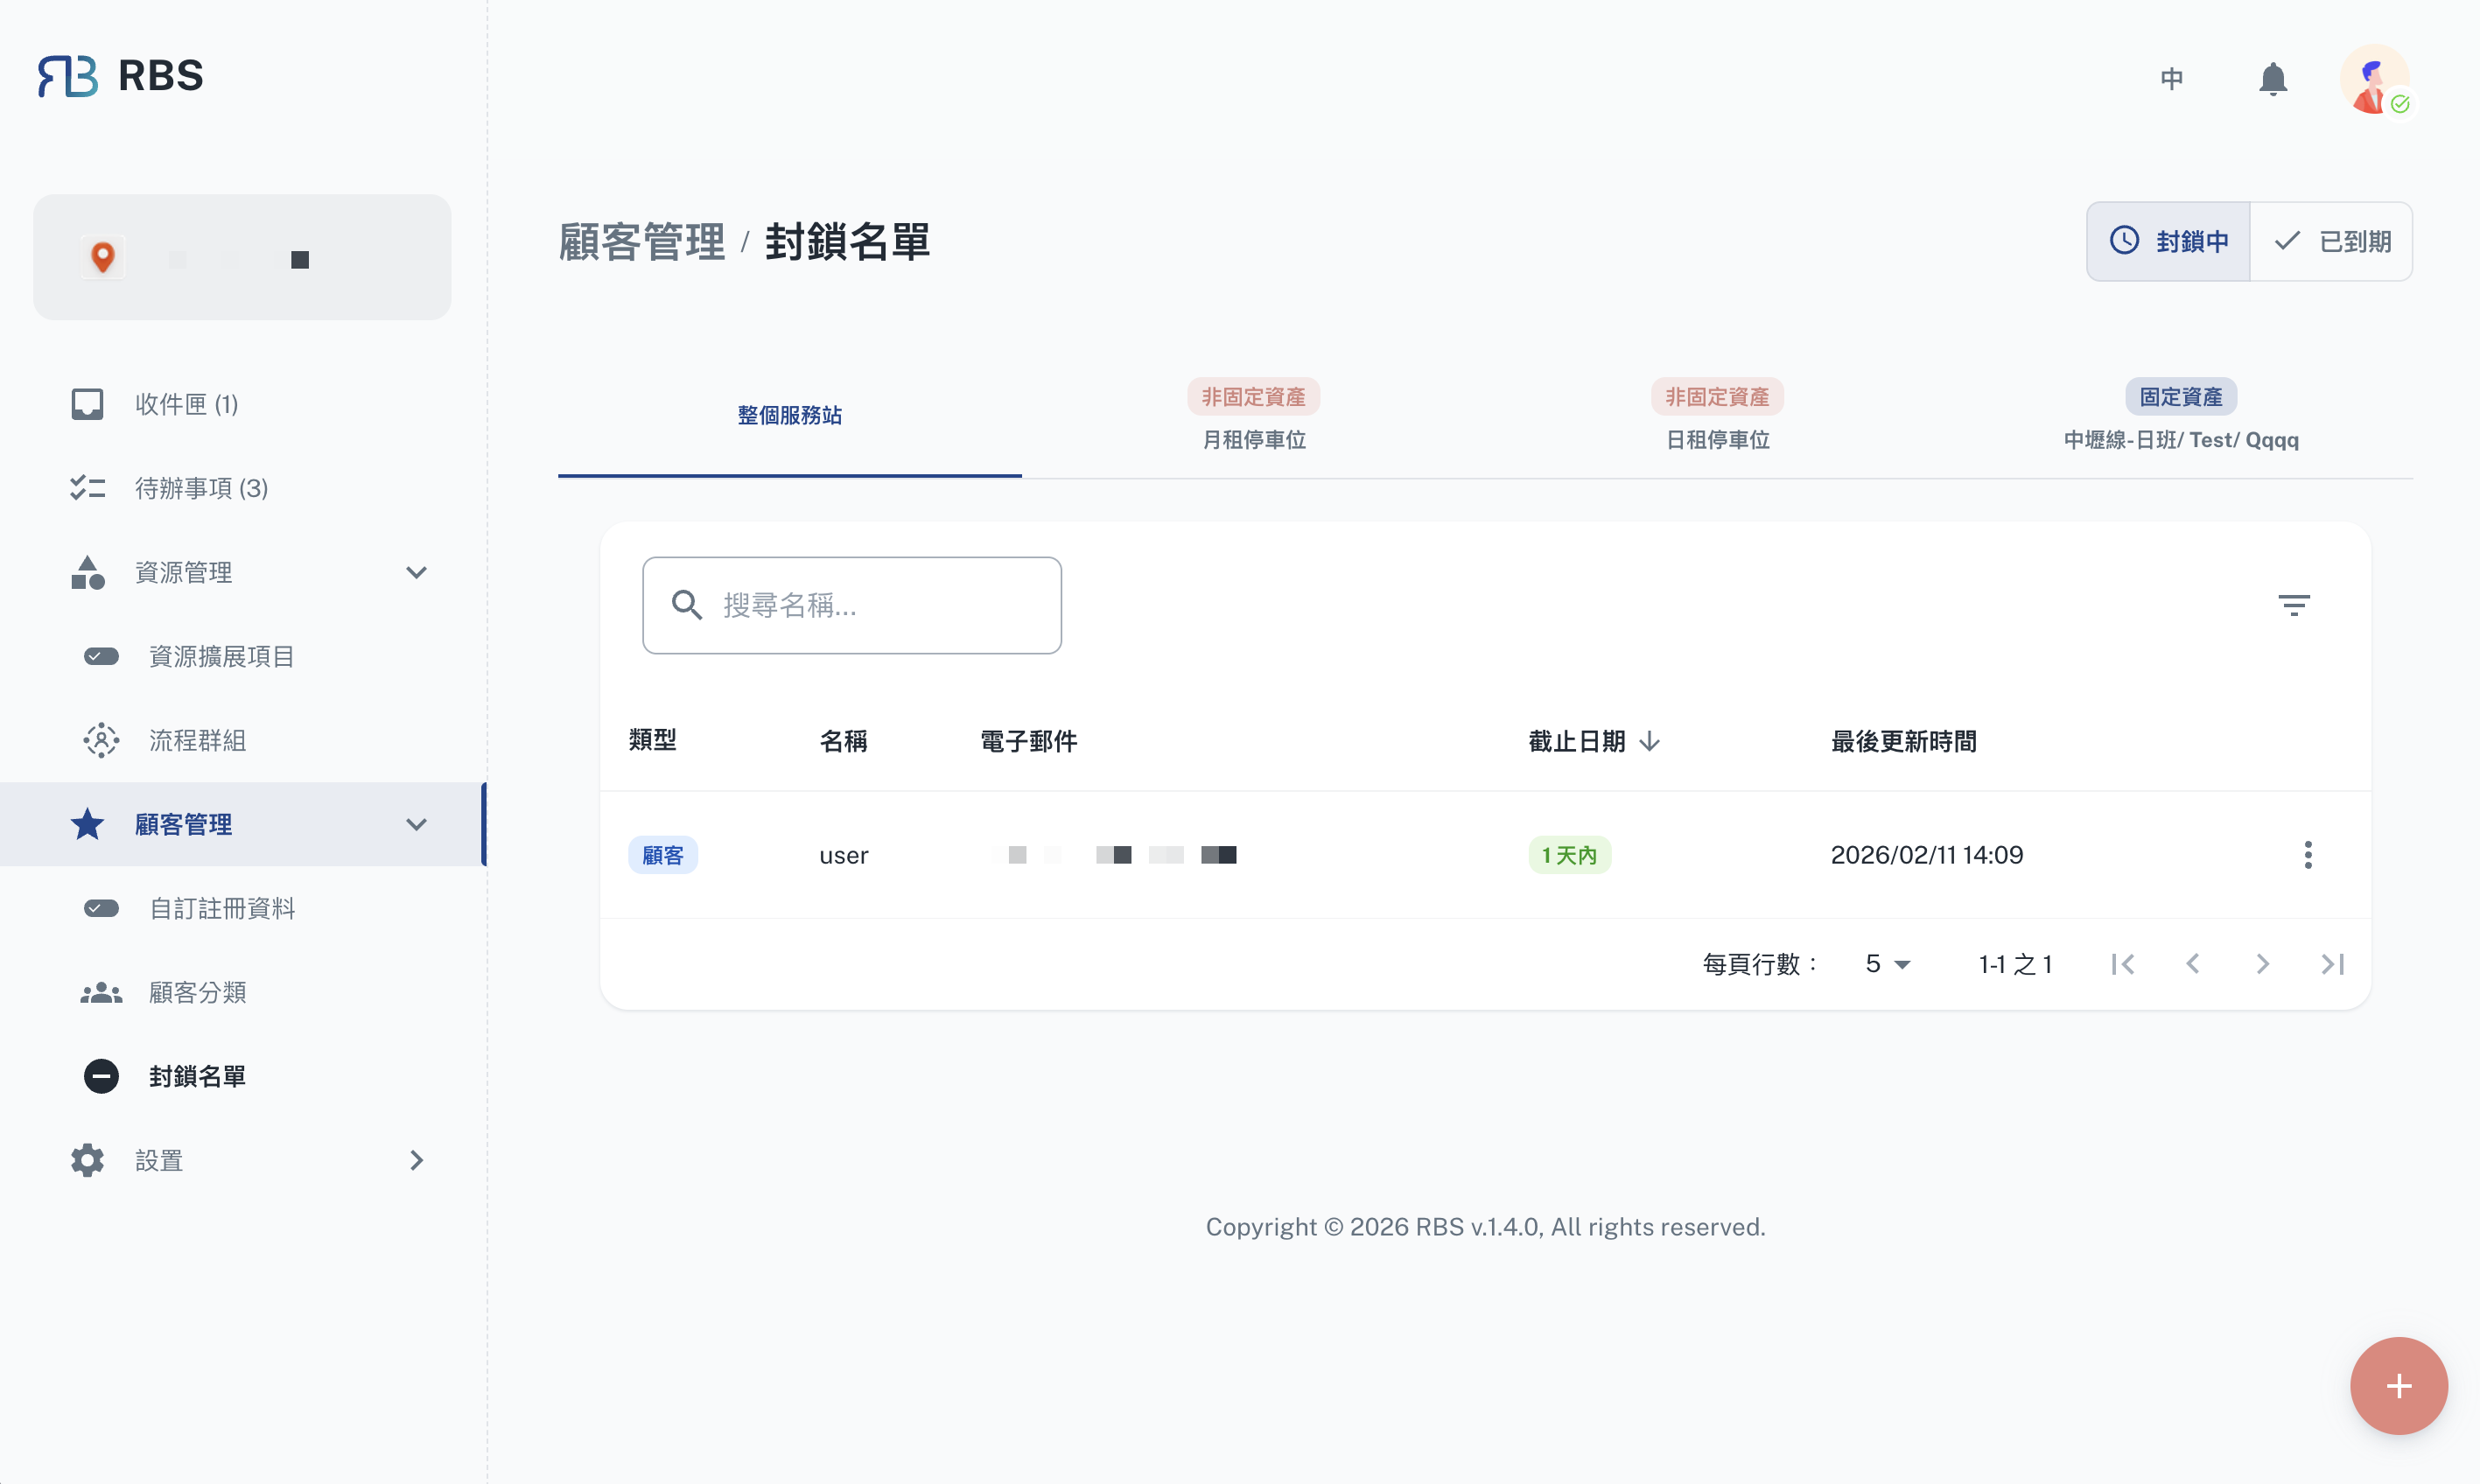
The Blocklist page allows administrators to manage customers who are restricted from making bookings. Blocklisted customers are prevented from accessing certain resources until the block is lifted. This feature is essential for enforcing organizational policies and maintaining control over resource access.
Key Features
- ➕ Add to Blocklist: Add customers to the blocklist with a specified expiration date.
- 🖊️ Edit Entries: Modify existing blocklist entries (e.g., extend or shorten the block duration).
- ❌ Remove from Blocklist: Delete blocklist entries to restore customer access.
- 📜 View History: Access the full history of blocklist actions for each entry.
Filtering & Search
The blocklist page provides powerful filtering tools to help administrators manage entries efficiently:
- Status Filter: Filter entries by status — Active (currently blocked) or Expired (block has ended).
- Date Range Shortcuts: Quickly filter by predefined date ranges — Today, This Week, This Month, This Year.
- Search: Search for specific customers by name or other details.
Table Columns
| Column | Description |
|---|---|
| Type | The type of blocklist entry |
| Customer | The blocked customer's name and details |
| Expired On | The date and time when the block expires |
| Note | Additional notes or reasons for the block |
| Last Update Time | When the entry was last modified |
How to Use
- Navigate to Customer Management → Blocklist in the sidebar.
- Click the + button to add a new blocklist entry.
- Select the customer and configure the block duration and reason.
- Use the Status toggle to switch between viewing active and expired entries.
- Click the History icon on an entry to view its full action history.